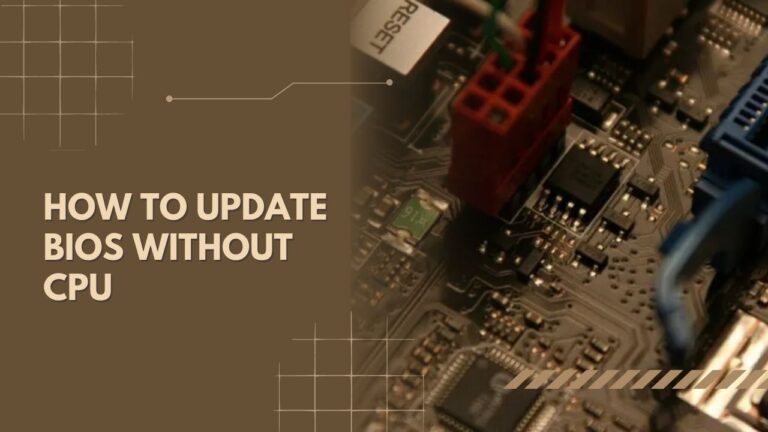
Many of you are asking How To Update BIOS Without CPU. You have to use the BIOS Flashback to do so.
Download the updated version in the BIOS flashback, and connect the flashback to the motherboard. Now give power to the motherboard through an SMPS. Lastly, press the flashback button for 3 seconds.
As the process is tricky, you may not understand it properly unless you dive deeper.
Therefore, we have shared a detailed procedure. Keep on reading, and you will understand the process if you don’t want to use the CPU for the update.
We have also shared a handful of other pieces of information regarding this. So, without any further ado, let’s get started!
How To Update BIOS Without CPU- Step By Step
Updating your PC’s Basic Input or Output System without a CPU can be a little bit difficult and risky. And if you are doing it without a CPU, it might just get even more complicated and tricky.
Almost all the motherboards come with a feature that does not require a CPU to flash the BIOS.
So if you own a motherboard manufacturer model above the B550 and X570, you can flash it without a CPU. But an older motherboard may not offer this advantage.
However, if you don’t have a motherboard manufacturer model above B550 and X570, you need to connect a CPU to do the work as your PC’s mobo can’t work without the CPU.
You will need a CPU to keep your motherboard running. So it’s better if you bring a CPU before updating.
If you update your BIOS with the help of your CPU, the risk of your motherboard being damaged will lessen.
And updating the system for the latest BIOS version won’t even be that much complicated and tricky as it would be if you do it without your CPU.
But if you still can’t manage a CPU, then it’s all right. You can go the non-CPU way. Here’s how you have to update without the help of the CPU:
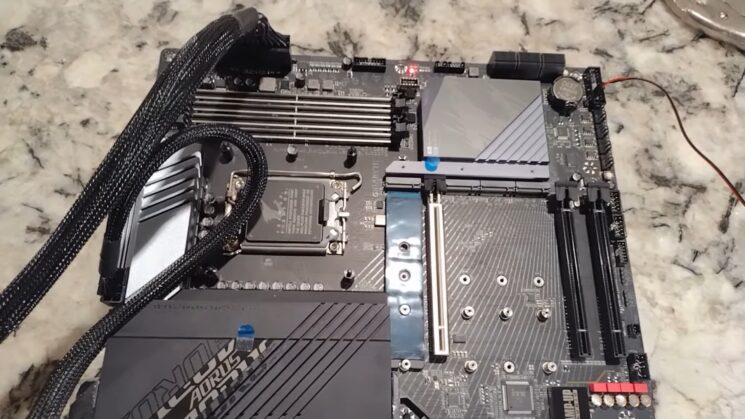
You only need the USB BIOS Flashback to upgrade the system without a CPU. The USB BIOS flashback lets you upgrade the system without requiring a CPU.
You can use it with a USB flash drive and the dedicated flashback USB drive port. The flashback USB drive port is on your back I/O panel of the PC.
Also read: Asus Tuf VS Rog Laptop Series
Quick Info: What Is A BIOS Flashback?
Using the Flashback feature means you can go back to an older version of any software or even a newer version. Faulty operations and instability often require you to go for an older or a more recent version.
All you have to do is download the version of the software you want in the flashback, and you can connect the flashback in the motherboard’s power supply area.
Therefore, now that you know about the flashback, Here’s the complete update process without CPU:
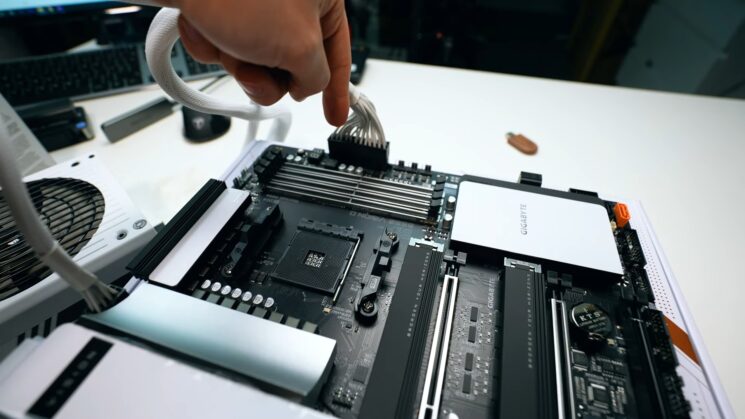
- Step 1: First, plug the flashback device into your motherboard.
- Step 2: Next, you have to plug in the USB flash drive with the updated, correct BIOS version for the motherboard.
- Step 3: At this phase, you have to give power to the motherboard through an SMPS.
- Step 4: Lastly, you must press the flash BIOS button or flashback button for 3 seconds.
Your work ends here. The rest of the procedure will happen automatically.
But if you still face problems while doing it with the flashback, ask any professional or someone who has done this many times to do it for you.
Remember to do it carefully as the BIOS is connected to your computer’s motherboard.
What Is A BIOS Update?
Motherboard BIOS is the basic input or output system of your PC. You can use it to adjust and configure your PC’s different components like RAM and fan. You can also fix various issues and add necessary features to the PC.
The primary intent behind the update is to keep everything content and compatible. Similarly, you can get the needed security updates and stability from the update. It can also help in the Windows update.
Checking The Current Version Of The Operating System: How To Do It?

Before you update, you need to check the system’s current BIOS version.
Otherwise, installing the wrong BIOS update file might ruin the motherboard and will be of no potential use.
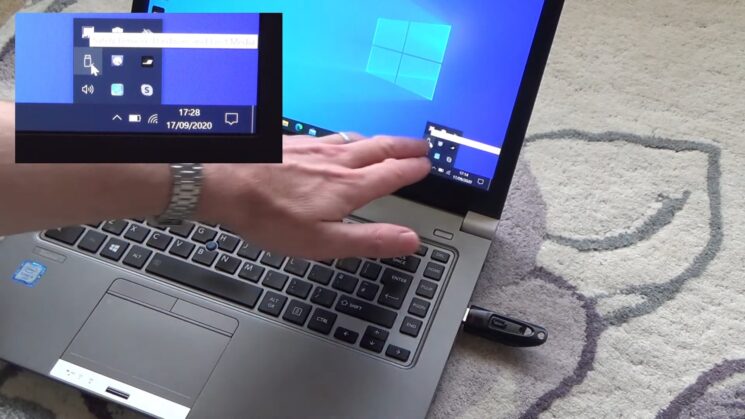
Here are the steps to check the current version if you have Windows 8 or 10:
- Open the run box. (Press Windows+R).
- Type “msinfo32” and press the Enter key.
- The “BIOS Version/Date” section will show which version you are currently using.
You can also check the mobo to check the motherboard model and the system version that it is using.
Therefore, you will know if you are using the latest version or not.
How To Enter Motherboard BIOS Settings On Your Windows 11?
If you want to enter it on your Windows 11, you might find it troublesome.
The security chip TPM 2.0 is required to have a more profound experience, and the system can let you have it.
So here are two simple steps that can let you have the BIOS on your Windows 11:
- If you want to enter it at the startup, turn on the computer and press the ESC while the screen lights up. Then you will get to the startup menu.
- Press the F10 key to enter the Basic Input or Output System in the startup menu.
That’s all you have to do. Now you can make the necessary changes as you like to.
BIOS Vs. UEFI Firmware – The Differences
You might have already heard the term UEFI alongside BIOS. UEFI is simply a modern alternative to the other system.
BIOS stands for your PC’s input or output system, UEFI stands for Unified Extensible Firmware Interface.
As a modern alternative, you will find many advanced features with UEFI, but the bottom line is the same as using a BIOS. Yet there are a few differences in UEFI BIOS; let’s have a look at those:
| Feature: | BIOS | UEFI |
| Full-Form | Basic Input/Output System | Unified Extensible Firmware Interface |
| Storing Area | EPROM (Erasable Programmable Read-Only Memory) Firmware | .efi File Stored On The ESP Of The Hard Disk |
| Accessing Keys | Del, F2 Or F10 | Del, F2, F10 Or F12 |
| Boot-Time | Average Boot-Time | Faster Boot-Time |
| Supportable Drive Sizes | 2.2 Zettabytes | 9 Terabytes |
| Running Mode | 16bit | 32bit Or 64bit |
| Navigation | Keyboard | Mouse |
Does My PC Need A BIOS Update?
A computer’s basic input or output program does not need an update that often. The BIOS chip is in a small chip in the motherboard. Its job is to manage the basic instructions of your computer that allow it to boot into an operating system.
It is better if you are not updating Computer BIOS that often. Moreover, installing it can be even riskier than updating a small Windows program. You can update it only if there is a problem with your hardware.
As the system is located on the motherboard, if the update process goes slightly wrong, you won’t be able to turn your Windows on again. However, if you want to upgrade it, take a professional’s help or do it carefully following our mentioned steps.
When To Give The Update?
You should typically avoid giving your BIOS an update because that can be very risky to your computer. If something goes wrong while updating, your PC might not work correctly. So you have to be careful while working with your system.
If you notice your computer is working fine, you don’t have to think about updating BIOS. But if you are facing problems like lags and feel the need for an upgrade or change, you can think about updating the system.
Again, if you want an improvement in your computer that the new version provides, you can think of updating.
You should even update the BIOS if you see any critical flaws that need to be fixed up. If you intend to upgrade to a new CPU, then you should consider upgrading it.
You can only upgrade the system if you want an improvement feature in your computer system, a major bug, or if your computer hardware needs an update.
If your computer doesn’t have any of the above problems, consider leaving your BIOS alone. Make sure to check the system information before you proceed further.
Will Updating BIOS Improve Performance?
The system is in your motherboard and manages basic instructions to boot into an operating system.
So, updating can bring more disadvantages to your computer than advantages if you are unsure of the system information and what you need.
As a result, if anything happens, it automatically damages your computer’s motherboard and PC hardware.
Updating BIOS does not change your computers, like significant software updates or performance improvement.
Instead, updating it might just fix a software bug or add support to a new model of CPU.
Upgrading the BIOS will not make your PC work faster or add any additional features you need.
Instead, sometimes updating it might bring more problems than advantages to your PC hardware.
Don’t think about updating the system unless updating it will bring an improvement feature you need for your computer.
If your computer is working perfectly fine, you should not modernize your BIOS. You might not even like the difference between the old version and the new version on your computer.
There are even chances that you may experience new bugs and new problems in your new version. This can happen because the BIOS that came with your computer might have gone through more tests than the updated one.
What Is The Benefit Of Updating BIOS?

Updating your computer’s Basic Input/Output System can have many benefits if done correctly.
Many people may want to update their it without any reason. But it would be best if you didn’t do that.
You should consider updating it only when you face any problems while working with your computer or want a feature improvement in your computer.
A professional should do the process of updating skillfully as one wrong move can damage your computer’s motherboard.
So Now Let’s Take A Look At The Benefits Of Updating Your BIOS:
-
Hardware updates:
The newer updates will correctly identify new hardware devices such as the RAM and processors
-
Security updates:
The updated BIOS has the security update feature with it. It can increase the awareness of the boot sector viruses, but it is only possible if your motherboard supports the boot sector scanning
-
Increased stability:
The updated system can quickly find bugs and motherboard issues and resolve those problems. And this may even affect the speed of data transfer and processing.
Before You Update: (Some Precautions)
It’s better to be safe than sorry. That’s why here are a few tips before you proceed with the update, so you don’t regret it later:
-
Backup all the data:
If the update fails to work somehow, you may lose all the data. This is not very pleasant. So you need to backup all your data somewhere safe. As a result, even if the update result does not come good, you won’t have to worry about it.
-
Hard-drive configuration information:
When you record the hard drive configuration information, you won’t have to re-enter the information even if you use a different Basic Input/Output System brand. You need to record the following pieces of information:
- Heads
- Cylinders
- Translation
- Sectors per track
-
Backup the settings:
You should also backup nonstandard settings like HD transfer rate, parallel port, and built-in serial settings to avoid unwanted consequences.
-
Read the updating manuscript carefully:
The flash BIOS download or any update kit will show you some pieces of information that you need to go through carefully. Before you proceed, you need to understand every single thing thoroughly.
-
Check the system compatibility:
Often motherboards can disable the updates due to existing system protection. So you have to allow your motherboard for the change before you update the Basic Input/Output System. But make sure to undo the settings after you have completed the update.
-
Download the BIOS Update and Add it to Your USB Device:
Download the BIOS Update file for your motherboard onto a USB flash drive.
For example, if you are updating an Intel® chipset based motherboard, you would download the BIOS update file from Intel’s website.
If you are updating a AMD chipset based motherboard, you would download the BIOS update file from AMD’s website.
Always download BIOS files from the official website of ASRock, Asus, Gigabyte, Intel, or MSI. You can find the correct BIOS update file by searching for your motherboard model on Google, followed by “BIOS”.
Plug the USB flashdrive into a computer that has access to the internet and open it in Windows* OS* 7 or later.
Step By Step – Updating BIOS
After preparing the USB drive, let’s flash your BIOS step by step:
Extract and Rename the BIOS File
Move the files to somewhere where you’ll remember, and extract them there. Before running the USB BIOS Flashback tool, please rename the BIOS file (M13H.CAP) using BIOSRenamer. Simply activate the tool, and your file will be renamed.
You’ll need to rename it manually if you have an Gigabyte, ASRock, or MSI motherboard.
If you have to rename the BIOS File manually, do so as follows:
- Gigabyte motherboards: rename to gigabyte.bin
- MSI motherboards: rename to msi.rom
- ASRock motherboards: rename to creative.rom
Format the USB Drive As FAT32 and Add BIOS File
The USB drive you insert into your computer should be formatted as FAT32. Doing this will allow the BIOS file to be installed without issue.
1. Open the Windows Explorer or Finder windows and navigate to where the USB drive is located.
2. Right-click on the USB drive and select Format from the pop-up menu.
3. Select the Type of format from the list that appears and click on Next.
4. On the Formatting Options screen, make sure that FAT32 is selected as the format type and click on Next.
5. On the Location for Files screen, specify where you want to save the formatted USB drive and click on Finish.
6. Restart your computer if it is currently running and insert the newly formatted USB drive into one of its available ports.
7. Double-click on the BIOS file that was saved to your hard drive earlier in this process and follow its instructions to install it onto your PC’s motherboard…
Safely Eject USB Drive
Right-click on the drive in windows file explorer and select “Eject” from the menu that appears. You will then be prompted to confirm the ejection by clicking on ok. Finally, remove the USB drive from your computer.
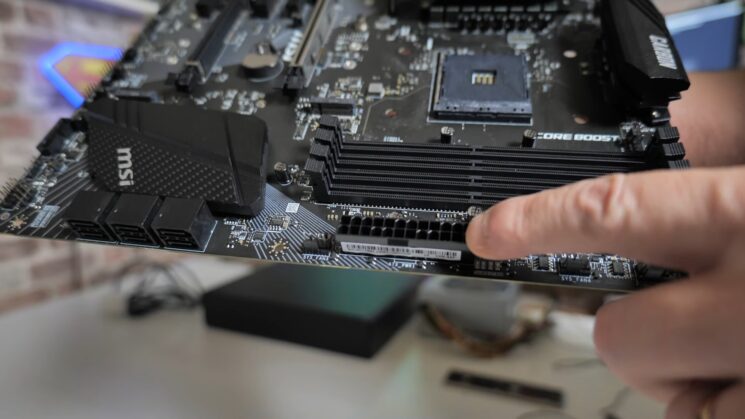
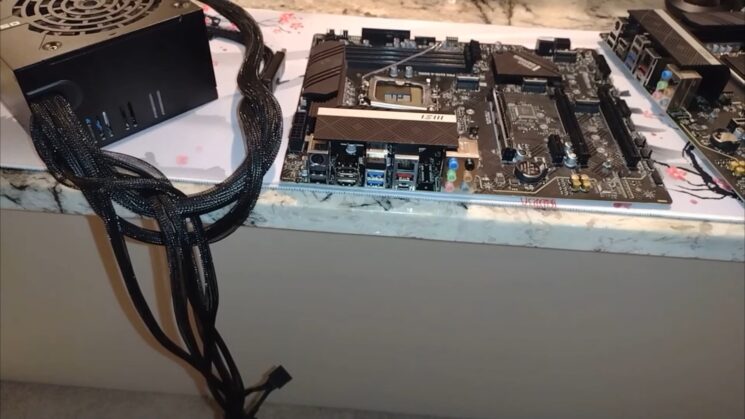
Connect Your Power Supply Unit (PSU)
Most desktop PCs have a 220- or 230-volt power outlet and standard PSUs work with them.
Just make sure the PSU is plugged into an outlet on the correct voltage and make sure the power cord is long enough so it reaches from the outlet to where the PC is located.
Insert USB Drive and Press BIOS Flash Button
Insert the USB drive into this designated USB port on your motherboard. Now press the small BIOS flash button located somewhere near the USB port.
This button may be called “Q-Flash Plus” or “BIOS FLBK” on different motherboards and it may be located on the motherboard’s PCB itself and not the rear i/o shield next to the USB port.
Depending on your Motherboard you may need to hold the button for around three seconds until the LED next to the button (or the button itself) starts flashing. Once Flashback is complete, unplug the USB drive and eject it from your computer.
Confirm the Update and Remove USB Drive

To see if the BIOS update has begun, you’ll see an LED light flash on your computer once the update begins. If you don’t see an LED light or the blinking stops after just a couple of seconds, the update likely hasn’t begun.
This usually signifies that something is wrong. If you’re still having trouble following the steps, try holding down the BIOS flash button for three or more seconds.
The LED light will continue flashing or be lit constantly until the update is complete, which can take around 2-10 minutes. Once the update is completed, the LED will turn off, and the computer may restart or shut itself down.
Now you can remove the USB flash drive and unplug the power supply from the wall. Then it’s time to install all your PC components to see if your computer is recognizing your new CPU
Important To Know Further:
How Much Time Does BIOS Flashback Take?
The flashback doesn’t take more than 2 minutes. If you notice that the light stays the same, it may indicate that the update failed.
However, your file size can impact the required update time. In that case, it should complete the update within 8 minutes, even if the file is big.
How To Know When BIOS Flashback Is Done?
You have to press the BIOS FlashBack™ option for three seconds. Then if you notice that the FlashBack LED flashes three times, the update is done.
How To Check Your Current BIOS File Version In Windows 10?

Here are a few steps to follow to find the current BIOS file version in your Windows 10:
- Restart your PC
- Press and hold the shift key
- You will enter the boot options menu shortly
- Now enter the troubleshoot menu of the boot options menu
- Enter the UEFI Firmware Settings
- Now click restart, and your PC will take you to the UEFI settings screen, where you can find which person your Windows is currently using
IS New BIOS Flash Possible On A Bricked Motherboard?
Yes, you can do that. The possibility depends on your motherboard.
Usually, the cheaper mobos are more likely to let you flash the new system even if it’s bricked.
But if your motherboard is bricked, it’s better to seek help using a programmer.
Drawing To A Close
We have reached the end of our suggestions and guidelines on how to update BIOS without CPU. Therefore, the recommendations will save you from confusion in the easiest way to your BIOS update process.
However, you should only update your BIOS when it’s indispensable for your computer. Otherwise, your computer might not start again if something goes wrong while updating.
And since you are doing it without a CPU, the procedure may get more problematic unless you do it skillfully. The computer may freeze, crash, lose power during the process.
Though some motherboards can update Basic Input/Output Systems without even needing a CPU, those motherboards have special hardware to enable USB BIOS flashback.
So before you update, always notice the concerning facts and proceed. Even though the procedure is simple yet it’s better to take expert help.