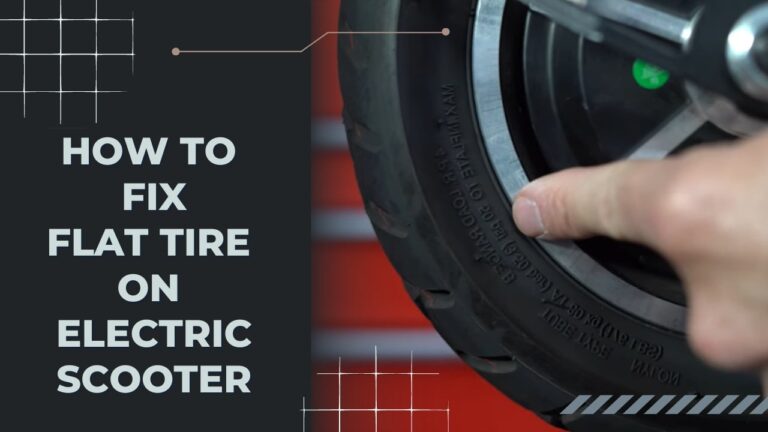
Electric scooters have become an increasingly popular mode of transportation in recent years, offering a convenient, eco-friendly, and fun way to get around town. But like any other vehicle, they can experience some wear and tear – one common issue being a flat tire.
Don’t let a flat tire leave you stranded or put a damper on your e-scooter adventures! In this comprehensive guide, we will walk you through everything you need to know to fix a flat tire on your electric scooter, ensuring a smooth and enjoyable ride for years to come.
Before you dive in deeper into the problem of repairing your flat tire, you might be interested in discovering the top foldable electric scooters on the market, perfect for zipping through the city and offering unmatched convenience for your daily commute.
Identifying the Problem
Before attempting any repairs, it’s essential to determine what’s causing the flat tire. There are generally two types of flat tires on electric scooters: punctures and slow leaks. Punctures are typically caused by sharp objects, like nails or glass, while slow leaks can result from a variety of factors, including valve stem damage or poor tire sealing.
To diagnose the issue, start by visually inspecting the tire for any obvious signs of damage, such as punctures or cuts. Next, listen for any hissing sounds that may indicate air escaping from the tire. If you can’t identify the problem, try submerging the inflated tire in a bucket of water and watching for bubbles – this will help pinpoint the location of the leak.
Different Tire Types and Their Pros & Cons
Electric scooters typically feature one of three tire types: pneumatic (air-filled), solid, or honeycomb. Each type has its advantages and disadvantages, which can impact your repair process and overall riding experience.
Pneumatic tires
These tires offer a smooth, comfortable ride due to their shock-absorbing capabilities. However, they are more susceptible to punctures and flats. Repairs may involve patching an inner tube or sealing a tubeless tire, as discussed in our previous guide.
Solid tires
These tires are puncture-proof, eliminating the risk of flats. However, they provide a less comfortable ride and may not perform as well on uneven terrain. Repairing a damaged solid tire usually involves replacing the entire tire.
Honeycomb tires
These tires combine the benefits of both pneumatic and solid tires. They are puncture-resistant and offer a more comfortable ride than solid tires. Like solid tires, a damaged honeycomb tire typically requires replacement.
Gathering the Necessary Tools
Before you can fix your flat tire, you’ll need to gather some essential tools and materials. Here’s a list of what you’ll need:
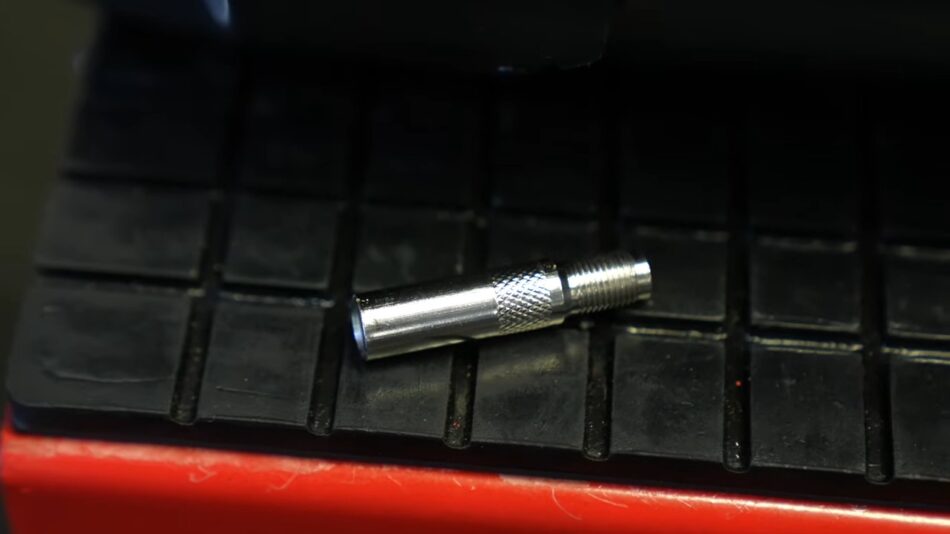
- Wrench or socket set (to remove the wheel)
- Tire levers or a flat-head screwdriver (to remove the tire from the rim)
- A bicycle pump or an air compressor (to inflate the tire)
- Patch kit (for inner tube repairs) or tire sealant (for tubeless tire repairs)
- A bucket of soapy water (to help locate the leak)
- A rag or cloth (to clean the tire and rim)
- Optional: gloves (to keep your hands clean during the repair process)
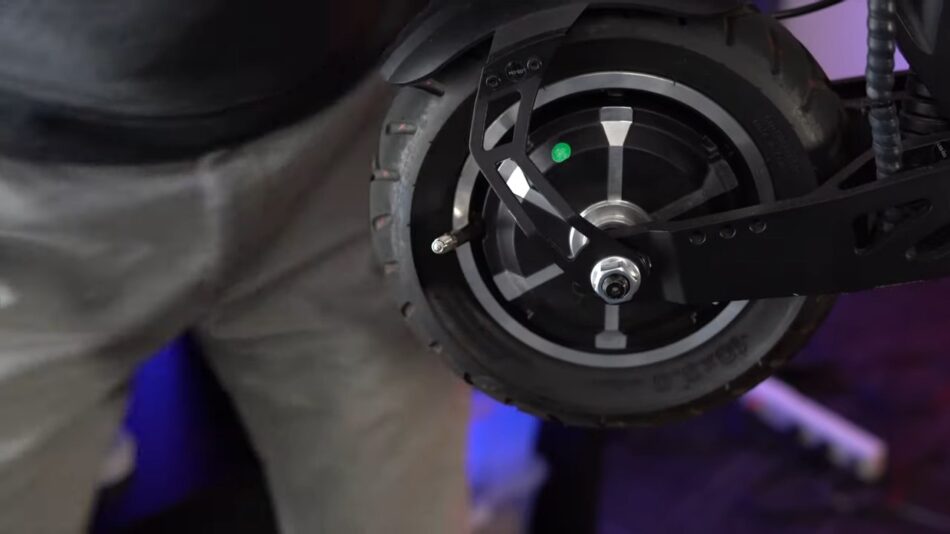
Removing the Flat Tire
First, ensure your electric scooter is powered off and stabilized – either by using a kickstand or propping it up against a sturdy surface. Then, follow these steps to remove the flat tire:
- Using a wrench or socket set, loosen the nuts or bolts securing the wheel to the scooter. For some scooters, you may also need to disconnect the motor cable or brake caliper. Be sure to keep track of any hardware you remove for reassembly later.
- Carefully slide the wheel off the axle, taking care not to damage the motor or brake components.
- Using tire levers or a flat-head screwdriver, gently pry one side of the tire off the rim. Work your way around the circumference of the tire until it is entirely off the rim. If your scooter has an inner tube, remove it as well.
Repairing the Tire

Depending on the type of tire your electric scooter has – either a tube or tubeless – the repair process will differ. Below, we cover both methods.
Patching an Inner Tube
- Locate the puncture or leak by inflating the inner tube and either listening for a hissing sound or submerging it in a bucket of soapy water and watching for bubbles. Mark the leak location with a pen or marker.
- Deflate the inner tube completely and clean the area around the puncture using a rag or cloth. This will ensure better adhesion of the patch.
- Follow the instructions provided with your patch kit. Generally, you’ll need to roughen the surface around the puncture using sandpaper or an abrasive pad, apply a layer of rubber cement or adhesive, and then press the patch firmly onto the puncture site.
- Allow the adhesive to dry according to the patch kit’s instructions, which can range from a few minutes to over an hour.
- Once the adhesive has dried, inflate the inner tube to ensure the patch has successfully sealed the puncture. If no air is escaping, you can proceed to reinstall the tire.
Sealing a Tubeless Tire
- Locate the puncture or leak using the same methods mentioned above (hissing sound or soapy water test). Mark the leak location with a pen or marker.
- Remove any foreign objects, such as nails or glass, from the tire using a pair of pliers or tweezers.
- Clean the puncture area with a rag or cloth to ensure proper adhesion of the tire sealant.
- Following the instructions on your tire sealant, inject the recommended amount of sealant into the tire through the puncture hole or the valve stem. Be sure to shake the sealant bottle well before use.
- Rotate the tire several times to ensure the sealant spreads evenly and covers the puncture site.
- Inflate the tire to the recommended pressure and check for any air leaks. If the tire holds air, you can proceed to reinstall it.
After successfully repairing your electric scooter’s flat tire, you might be curious about the longevity of its battery; our detailed guide on battery lifespan offers valuable insights to help you make the most of your scooter’s power.
Reinstalling the Tire
Now that your tire is repaired, it’s time to reinstall it on your electric scooter. Follow these steps:
- If your scooter has an inner tube, insert it back into the tire, ensuring it is evenly positioned and free of twists.
- Using tire levers or your hands, carefully work the tire back onto the rim, making sure not to pinch the inner tube (if applicable).
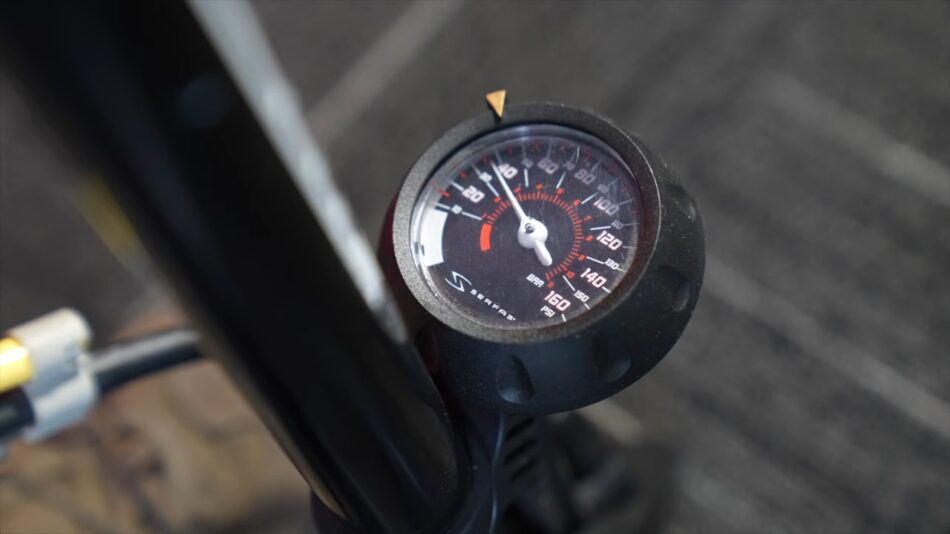
- Inflate the tire to the recommended pressure, usually found on the tire sidewall or in your scooter’s owner’s manual.
- Align the wheel with the scooter’s axle, ensuring any spacers or washers are correctly positioned.
- Secure the wheel in place by tightening the nuts or bolts with a wrench or socket set. Reconnect the motor cable or brake caliper if necessary.
- Perform a quick test ride to ensure the tire is seated properly and your scooter is functioning as it should.
Prevention and Maintenance Tips
To minimize the risk of future flat tires and keep your electric scooter in top shape, follow these preventative measures and maintenance tips:
- Regularly check your tire pressure and keep it within the recommended range.
- Inspect your tires for signs of wear, such as cracks or bald spots, and replace them when necessary.
- Avoid riding over sharp objects, such as glass or nails, whenever possible.
- Consider investing in puncture-resistant tires or tire liners for added protection.
- Keep your scooter clean and well-maintained, including regular inspections of brake components and motor connections.
Once you’ve tackled the task of fixing your scooter’s flat tire, you may find it useful to learn about alternative charging methods in case you ever need to charge your electric scooter without its charger, ensuring you’re always prepared for any situation.
Final Words
Fixing a flat tire on your electric scooter doesn’t have to be a daunting task. With the right tools and knowledge, you can quickly and confidently get back on the road. By following this comprehensive guide, you’ll be well-equipped to handle any flat tire situation and keep your scooter running smoothly for years to come. And remember, regular maintenance and preventative measures can go a long way in ensuring a trouble-free